


Setup the tools
Install TortoiseHg from http://tortoisehg.bitbucket.org/
Enable Hg-Git extension

Open TortoiseHg Workbench, Open the File/Settings menu and make sure the Hg-Git extension is enabled under “Extensions”.
Ready your repository
During the migration from Mercurial to Git, branches will be created in Git for all bookmarks set in Mercurial, including the master branch.
On your client windows computer you will need to bookmark the default branch as master. This will properly map your trunk from Mercurial to Git when the data is migrated:

For each branch you wish to migrate, execute the following command. This is a good time to improve branch name consistency, and correct any old branch name issues.

Setup Git Server
There are many ways to implement a Git server, from cloud hosting services such as GitHub and ProjectLocker to hosting your own web accessible server such as GitBlit or GitLab, all the way down to just running git-daemon.
My personal preference is to install GitBlit within my local network. GitBlit offers a very simple all-in-one install option called GitBlit GO (http://gitblit.com/). GitBlit offers all of the standard Git hosting features from LDAP integration to a web-based administrative interface. All with an easy to understand configuration file, and step-by-step installation instructions.
Install GitBlit according to the instructions.
Login with the credentials admin/admin.
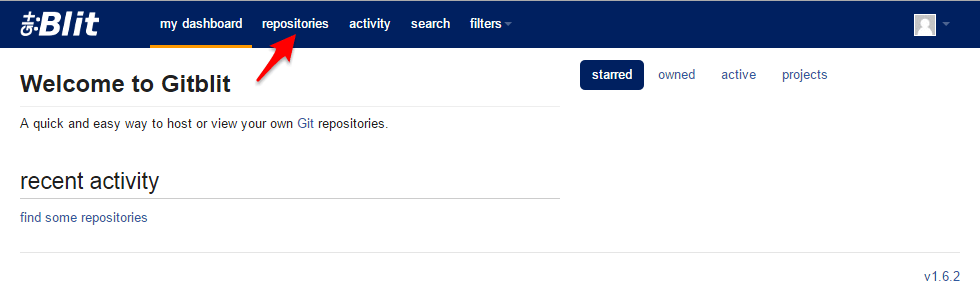
Open the repositories view.
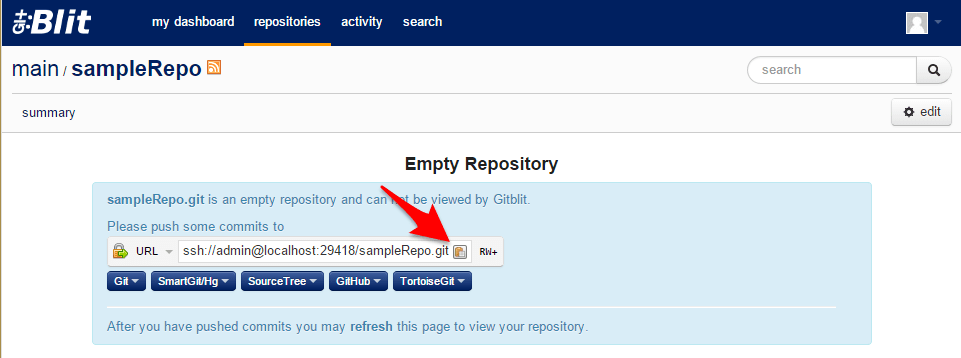
Create a new Repository.

Copy the address of the repository for the next step.
Migrate your data
Migration of your Mercurial repository to Git is as simple as using the Hg-Git plugin and doing a push. In the command below, the “git+” tells Mercurial to use the Hg-Git plugin to communicate with a Git server. This command will convert all of the change sets to the Git format, and then push them all to the Git server.

Git client
Download an install the git client from http://git-scm.com/downloads or a visual client such as TortoiseGit from https://code.google.com/p/tortoisegit/wiki/Download.
Conclusion
Your Git repository is ready to be used.
You now have the option to continue to use your Hg client with the “git+” addition to the repository path, or use your new Git client.

